
Last updated November 17, 2026
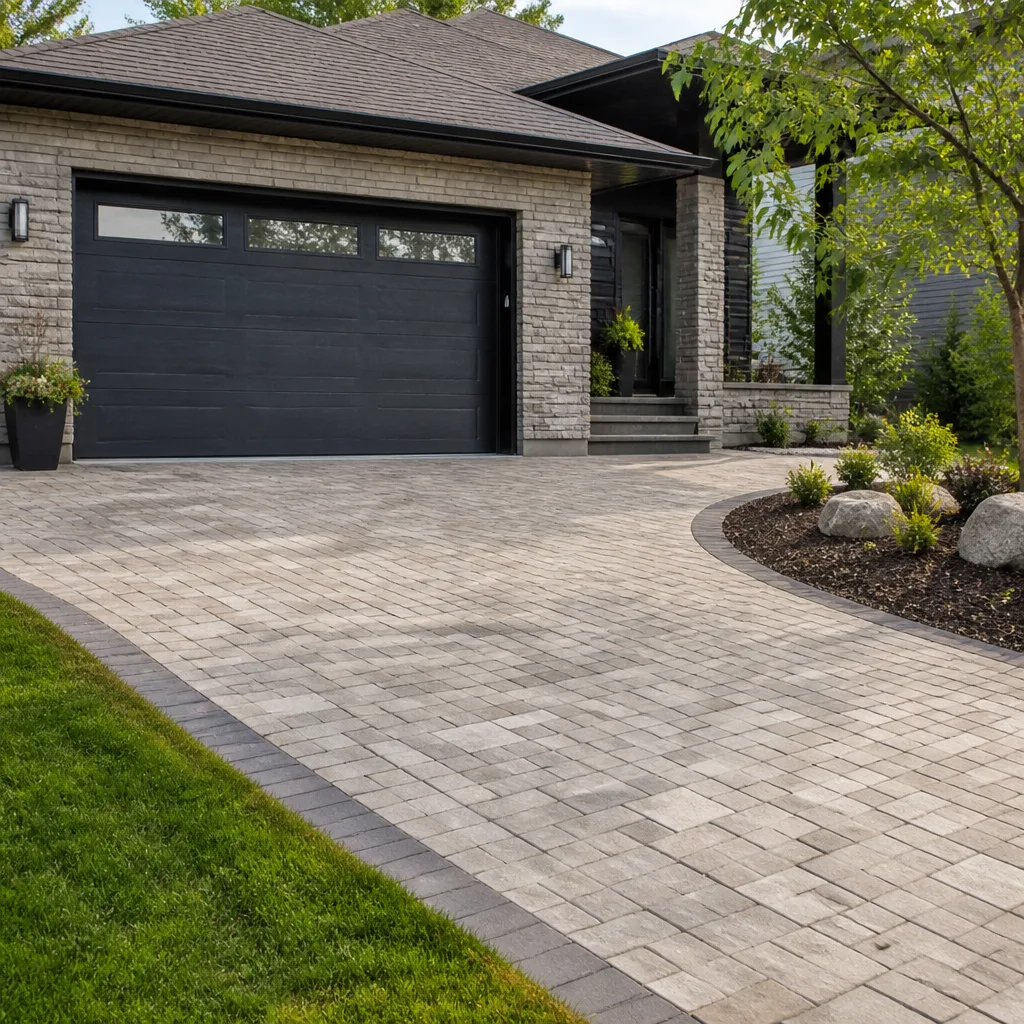 Driveway & pavers
 Kitchen remodeling
 Bathroom remodeling
 Home additions & ADU
 Roofing
 Windows & doors
 Fence
Free written scope consultation - allowances, timeline, and change-order rules on paper before a single trade is scheduled
Driveway & Pavers Maintenance Checklist for Mesquite Homeowners
A paver driveway that looks flawless in a brochure photo can start rocking underfoot within two summers in Mesquite. That’s not a knock on the pavers themselves. It’s the clay underneath. The black, high-plasticity soil common across North Texas swells when it takes on water and shrinks as it dries, and that seasonal movement works on a driveway base in a way that sand-set pavers in cooler, drier markets never experience. Most maintenance checklists floating around online were written for a climate that doesn’t exist here. This one isn’t. We’ll walk through what actually fails in Mesquite, when to inspect, how to tell one kind of failure from another, and which products hold up under triple-digit summers. You’ll finish with a calendar you can actually follow.
Quick Answer
Pavers in Mesquite need joint sand topped up at least twice a year (spring and late fall) because UV and heat break down polymeric binders faster here than in cooler markets. Inspect the whole surface in the two-week window after the last hard freeze, when base compaction problems surface, and once again in late summer after the worst of the heat. Reseal every three to five years with a product rated for Texas sun, and treat oil, fertilizer, and irrigation overspray as the slow-moving threats they are.
Styles & brands we work with
- Kitchen remodeling
- Bathroom remodeling
- Home additions & ADU
- Roofing
- Windows & doors
- Driveway & pavers
- Fence
Table of Contents
- Why Mesquite Driveways Age Differently
- The Mesquite Maintenance Calendar
- Joint Sand and Polymeric Sand: The Real Schedule
- Clay Heave vs. Simple Settling: How to Tell Them Apart
- Choosing a Sealer for Texas Heat
- Oil, Fertilizer, and Irrigation Overspray
- Drainage, Grading, and Edges
- Repair or Replace? Honest Trade-Offs
Why Mesquite Driveways Age Differently
Mesquite sits on expansive clay soil, the kind that changes volume as its moisture content rises and falls. During a wet spring the clay swells. Through a dry August it shrinks back and can open gaps under a slab or paver base that weren’t there in May. That movement repeats every year, and over time it’s what separates a driveway that stays flat from one that develops a low spot at the garage apron or a lifted edge along the street.
The heat compounds it. Mesquite summers regularly push past 100°F, and a concrete paver surface in direct sun gets considerably hotter than the air. That heat does two things. It accelerates the breakdown of polymeric joint sand, which is a binder that cures and then slowly degrades under UV exposure. And it drives moisture out of the clay fast, which is exactly when shrinkage and settlement show up.
Winters here are mild, but they aren’t nothing. A handful of hard freezes each season is enough to work on any base that was under-compacted at installation or has since lost density. That’s why the period right after the last freeze of the year matters so much. It’s when base problems announce themselves.
None of this means a paver driveway is a bad choice in Mesquite. Far from it. It means the driveway needs a maintenance rhythm built for this soil and this sun, not a generic schedule copied from a cooler market. When we spec a driveway & pavers project, the base prep gets as much attention as the surface, because in this clay the base is where long-term performance is won or lost. Premium paver lines like Belgard, Unilock, Tremron, Techo-Bloc, and Cambridge Pavers give you a durable surface, but the soil underneath is the variable that decides how long that surface stays true.
The Mesquite Maintenance Calendar
Here’s the rhythm that works for this climate. It’s built around the two seasonal transitions that stress a driveway most: the end of the freeze season and the peak of summer heat.
- Late winter (the two weeks after the last hard freeze): Full inspection. Walk the entire surface, check edges, look for any lifting or rocking. This is the single best inspection window of the year because base compaction issues surface after the freeze cycle.
- Early spring: Replenish polymeric joint sand where it’s worn or washed out. Clean the surface first so the new sand bonds to clean joints.
- Late spring: Check drainage and grading before the heavy rain season. Confirm water still runs away from the house and garage, not toward them.
- Midsummer: Spot-check joint sand again. UV and heat do their worst work in July and August, and this is when thin spots appear.
- Early fall: Second full joint sand top-up. Address any stains from summer fertilizer or irrigation overspray before they set.
- Late fall: Clean and inspect. Decide whether this is a reseal year based on the surface’s condition and the last time it was sealed.
That’s six touchpoints across the year, and most of them are quick. The two joint sand top-ups are the non-negotiable ones. The rest are inspections you can do in a fifteen-minute walk with a notepad. If you handle the exterior as a whole home project, we also cover fence installation and other exterior work, so the property gets maintained as one system rather than piecemeal.
Joint Sand and Polymeric Sand: The Real Schedule
Most polymeric sand manufacturers publish a replenishment schedule written for a temperate climate: top it up every few years, reseal periodically, done. That schedule underestimates Mesquite. The UV intensity here and the surface heat on a sun-exposed driveway break down polymeric binders faster than the label assumes. In practice, homeowners in Mesquite should plan on topping up joint sand twice a year, not once every few years.
What does worn joint sand look like? The joints start to look shallow. Water runs into them instead of sheeting off. On a dry day you can see daylight-depth gaps between pavers where the sand has dropped below the chamfer. When joints are open, water gets into the base, and in clay that’s the beginning of the settlement story.
Polymeric sand versus plain sand is worth understanding. Polymeric sand contains a binder that cures into a semi-rigid joint, which resists washout and keeps pests and weeds out. Plain sand is cheaper and easier to install but washes out faster and provides no binding. For a Mesquite driveway, polymeric is the better long-term choice despite the higher material cost, because it survives rain events and holds its joint structure longer in the heat.
- Spring top-up: After the freeze season, once the surface is clean and dry.
- Fall top-up: Before winter, so joints are full going into the wet season.
- Check after any heavy rain: Walk the low spots and see whether sand has migrated.
- Don’t overfill: Excess sand on the paver faces leaves a haze and can stain. Sweep it into the joints, not across the surface.
If a section of joint sand is consistently washing out in the same place, that’s usually a drainage problem talking, not a sand problem. More on that below.
Clay Heave vs. Simple Settling: How to Tell Them Apart
This is the distinction that trips up most homeowners, and getting it wrong means fixing the wrong thing. Edge lifting and simple settling can look almost identical from standing height. One is a cosmetic nuisance. The other is a base or soil problem that will keep coming back if you only patch the surface.
Here’s how to read the two:
- Look at the pattern. Simple settling tends to show up as a broad, gentle dip in one area, often where a vehicle parks or where the base was shallow. Clay heave shows up as a localized lift, frequently along an edge or at a joint line, where one section has risen relative to its neighbor.
- Check the season. If the lift appeared after a wet period and recedes as things dry out, it’s likely clay movement. If the dip is stable year-round, it’s more likely a base density issue.
- Press on the paver. A paver that rocks underfoot has lost bedding support beneath it. A paver that’s firm but sits higher than its neighbors is a heave situation.
- Look at the edge restraint. If pavers are pushing out at the driveway edge, the restraint may have failed or the base under the edge has shifted. That’s a structural fix, not a sand fix.
- Check the garage apron and street transition. These are the two places clay movement concentrates, because they’re where the driveway meets a rigid structure.
The practical takeaway: a broad dip gets re-leveled by lifting and re-bedding the affected pavers on a properly compacted base. A localized heave along an edge often needs the edge restraint and base addressed, not just the surface. Patching over a heave without fixing the base is the most common waste of money we see on Mesquite driveways.
The late-winter inspection matters because that’s when base compaction issues become visible. After a freeze cycle, any base that was under-compacted or has lost density will show a telltale dip, rock, or edge shift. Catching it in that window gives you time to fix it before summer heat drives moisture out of the clay and locks the problem in.
Choosing a Sealer for Texas Heat
Sealer choice matters more in Mesquite than in cooler markets because the surface spends so much of the year under intense UV and heat. A sealer that performs well in a mild climate can yellow, haze, or break down prematurely under Texas sun. The right product does two jobs: it locks joint sand in place and it slows UV degradation of the paver surface.
Three names come up most often in this market: Techniseal, Alliance Gator, and SRW. Without making claims on any manufacturer’s behalf, here’s how to think about the trade-offs rather than which brand to pick:
- Film-forming vs. penetrating: Film-forming sealers leave a visible sheen and a protective layer on the surface. They look great when fresh but can scuff and, in high heat, wear unevenly. Penetrating sealers soak into the paver and don’t change the look much; they’re lower maintenance and more forgiving under heat.
- UV resistance: Look for products explicitly rated for UV exposure and high surface temperatures. A sealer formulated for a cooler climate will underperform here regardless of brand.
- Wet-look vs. natural: Wet-look sealers darken the pavers and enhance color. They also show every scuff. Natural-finish sealers are more forgiving on a working driveway.
- Reseal interval: In Mesquite, plan on resealing every three to five years, and check the surface annually to see whether it’s time. A surface that no longer beads water is telling you the sealer has worn through.
Don’t seal a driveway that hasn’t fully cured or that’s holding moisture, and don’t seal over failing joint sand. Sealer over a bad joint just locks a problem in. Clean, re-sand, then seal, in that order.
Oil, Fertilizer, and Irrigation Overspray
The slow-moving threats to a paver driveway aren’t dramatic. They’re the drips, the overspray, and the runoff that happen every week and quietly change the color and integrity of the surface over a couple of years.
Oil and vehicle fluids. A few drops a month from a slightly seeping vehicle add up to a dark stain that soaks into the paver face. The fix is a proper oil-absorbing cleaner applied promptly, not scrubbing with a household detergent that drives the stain deeper. The quarterly habit: park in the same spot and look at it every three months. If you see fresh darkening, treat it before it sets.
Fertilizer runoff. Fertilizer and lawn treatments that wash onto the driveway leave mineral deposits and can discolor the pavers, particularly lighter tones. The quarterly habit: after any lawn treatment, sweep or blow the driveway clean and rinse it away from the joints. Don’t let granules sit in the joint lines.
Irrigation overspray. A sprinkler head aimed at the driveway does two things: it keeps the joint sand wet and encourages washout, and it deposits hard-water minerals on the paver face over time. The quarterly habit: walk your irrigation zones in spring and adjust any head that’s spraying onto pavement. This one habit prevents more joint sand loss than any other single action.
The quarterly cleaning habit that ties it all together: a light sweep and rinse, a look at the joints, and a check of the irrigation. Fifteen minutes, four times a year. It’s the cheapest maintenance on this list and it prevents the most expensive problems.
Drainage, Grading, and Edges
Water is the enemy in clay soil. A driveway that drains well lasts; one that ponds in a low corner will undermine its own base year after year. Every spring, before the heavy rain season, check three things.
- Slope: Water should run off the driveway and away from the house and garage, not toward them. A 1 to 2 percent slope away from the structure is the general target, but the key is that water leaves the surface rather than pooling anywhere on it.
- Low spots: Anywhere water stands after a rain is a spot to watch. A shallow low spot can often be corrected by re-leveling the affected pavers; a deeper one may point to a base issue.
- Edge restraint: Pavers are held in place at the perimeter by an edge restraint, and if that restraint shifts, the pavers spread. Check the driveway edges and the transition to the street after every freeze season.
Good drainage isn’t just about the driveway surface. It’s about where the water goes once it leaves the pavers. Downspouts, gutter discharge, and grading all feed into the same system. If you’re planning broader exterior work, coordinating the driveway, drainage, and other hardscape in one scope saves a lot of rework. The same single-contractor approach applies across our service lines, from the driveway to a home additions & ADU project, and it’s one of the reasons we keep the whole exterior-to-interior scope under one contract and one warranty relationship.
Repair or Replace? Honest Trade-Offs
The decision to repair or replace a paver driveway comes down to how widespread the base problem is. A few isolated heaves or dips can almost always be repaired by a crew that knows how to lift, re-bed, and re-compact the affected area. Widespread rocking across a large section, or repeated failures in the same spot after prior repairs, usually points to a base issue that’s better corrected with a full rebuild than patched again.
- Repair makes sense when: the problem is isolated, the rest of the surface is stable, the edge restraints are intact, and the joint sand is generally holding.
- Replace makes sense when: failure is widespread, previous repairs keep coming back, drainage is fundamentally wrong, or the base was never properly compacted in the first place.
- Consider a product upgrade when replacing: if the surface is coming up anyway, it’s the moment to spec a paver line built for durability. Premium hardscape brands like Belgard, Unilock, Tremron, Techo-Bloc, and Cambridge Pavers give you a surface that will handle this climate.
One honest note on material cost: paver drives are priced per job by written estimate, and the range varies with the area, the base work needed, and the paver line selected. We give a line-item estimate so you can see where the money goes, and the written estimate sets the final price. There are no change orders added mid-job for work that was in scope.
Common Mistakes to Avoid
- Following a generic national schedule. A maintenance plan written for a temperate climate will have you topping up joint sand far too rarely for Mesquite’s UV load. Build the schedule around two top-ups a year.
- Patching a heave without fixing the base. Lifting a paver and dropping it back without addressing the underlying clay movement means the problem returns, often within a season.
- Sealing over worn joint sand. Sealer locks in whatever’s underneath. If the joints are thin or the surface is dirty, clean and re-sand first.
- Ignoring irrigation overspray. A sprinkler aimed at the driveway quietly washes out joint sand all season. Adjusting the heads is the highest-value fifteen minutes in this guide.
- Skipping the post-freeze inspection. The two-week window after the last hard freeze is when base compaction issues show themselves. Miss it and you catch problems a season later.
- Treating a drainage problem as a surface problem. Joint sand that keeps washing out in one spot is usually water going somewhere it shouldn’t. Fix the water, not just the sand.
- Choosing a sealer by look alone. A wet-look sealer that scuffs and wears under Texas heat is a worse long-term choice than a natural-finish product rated for high UV.
See the difference
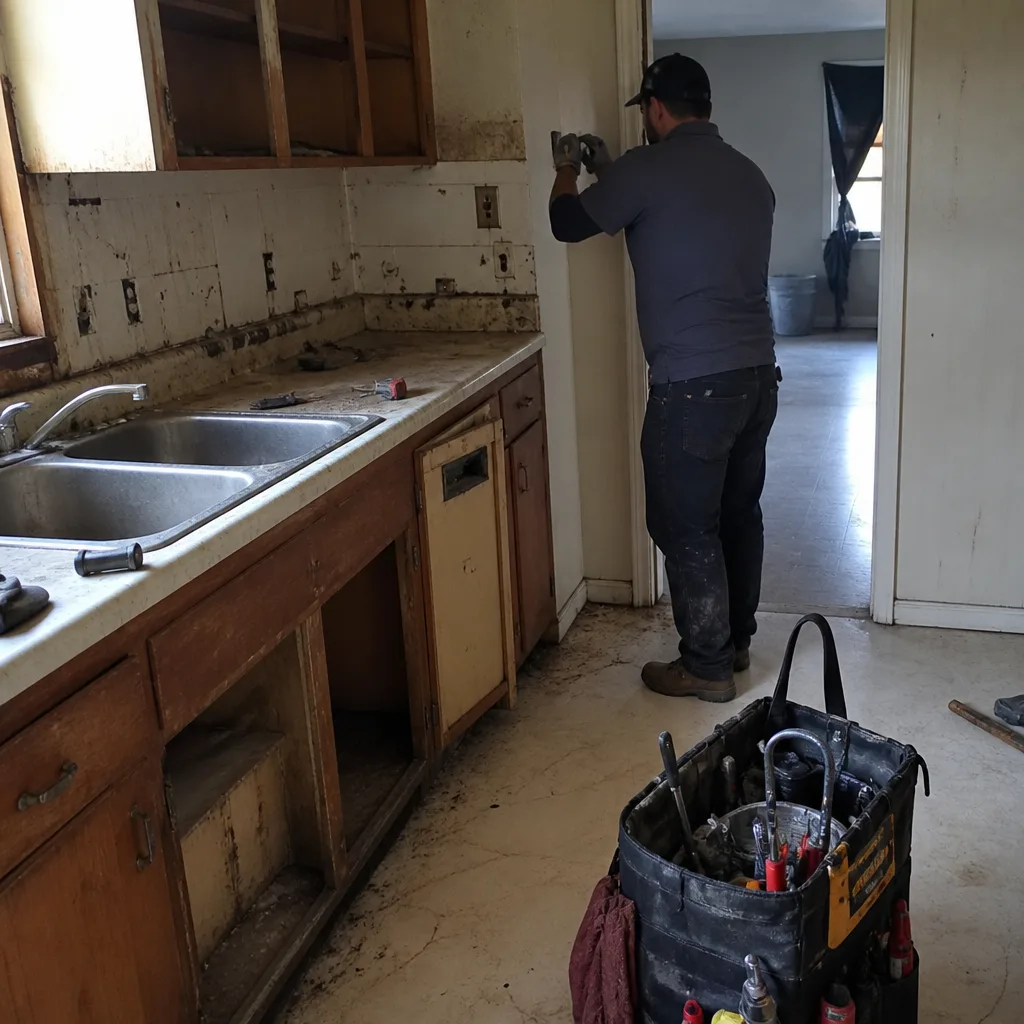 Before
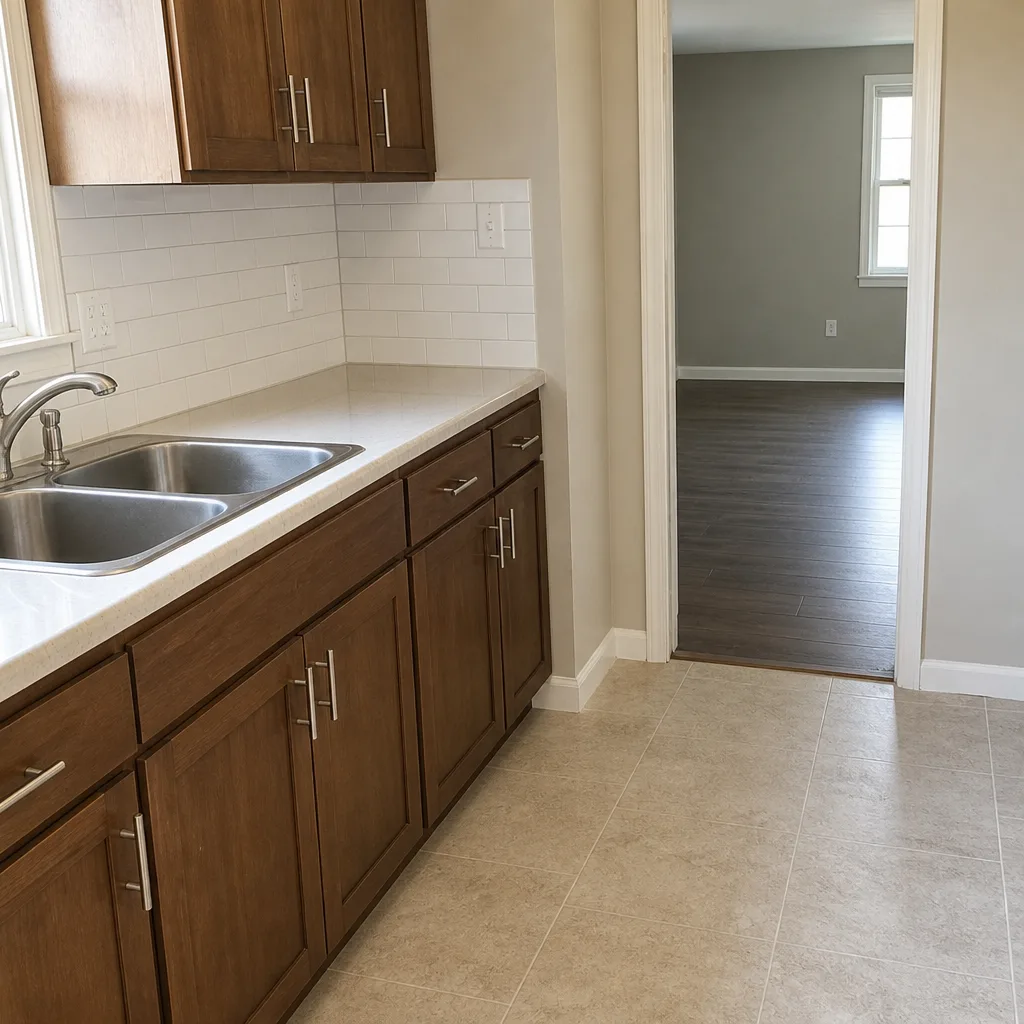 After
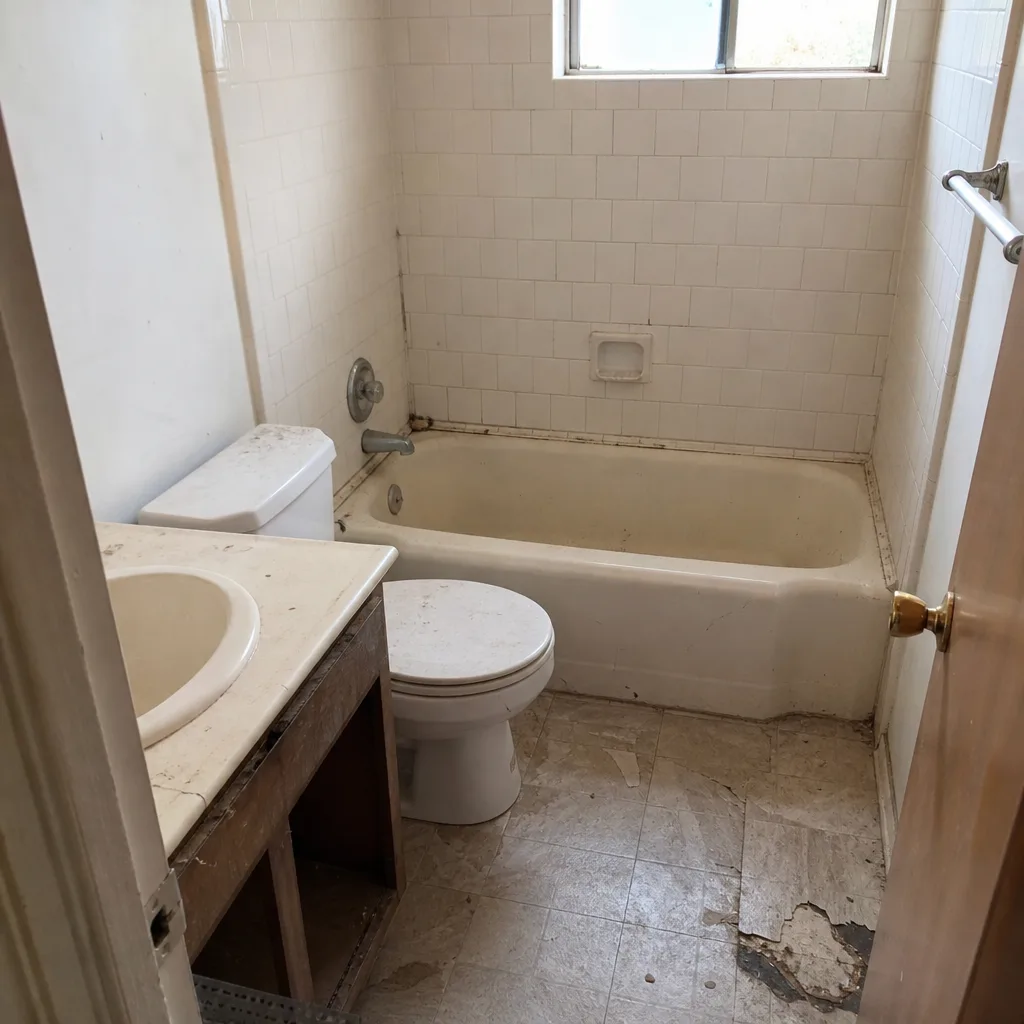 Before
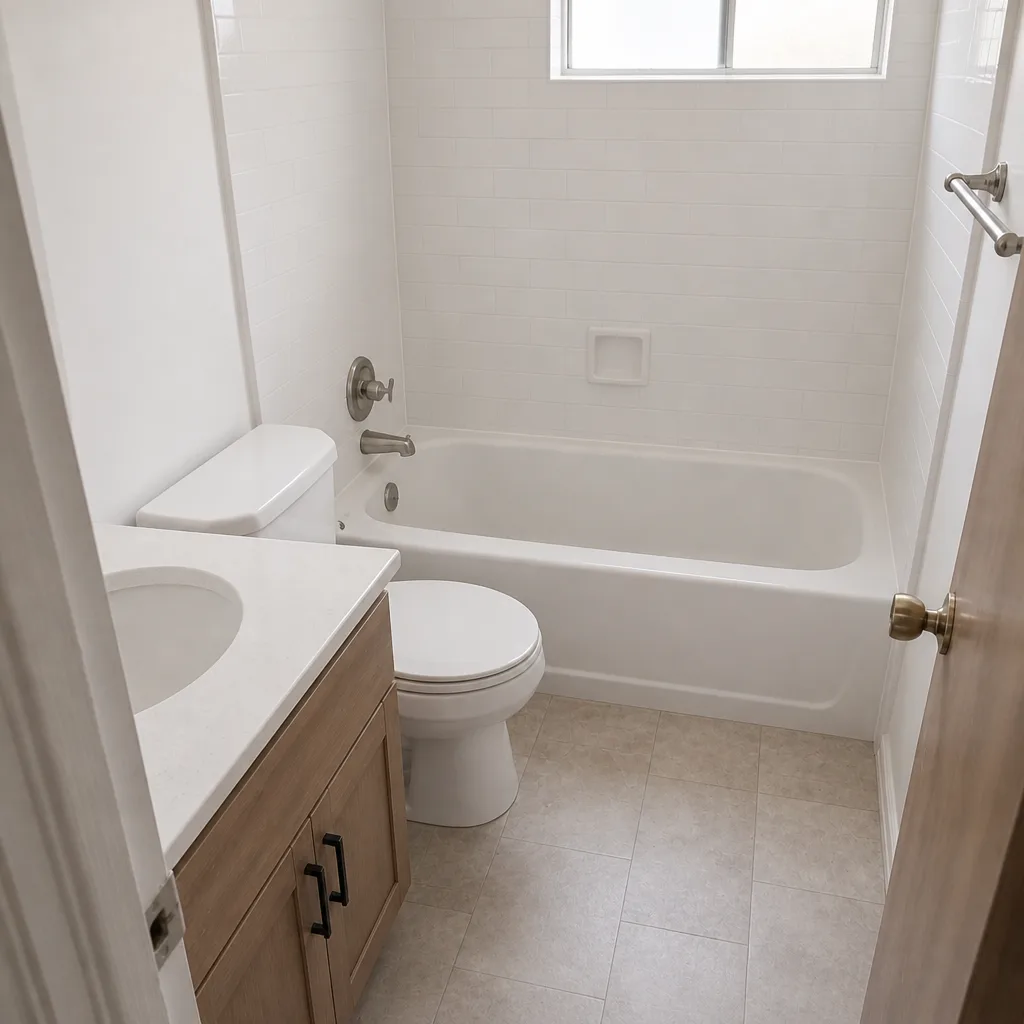 After
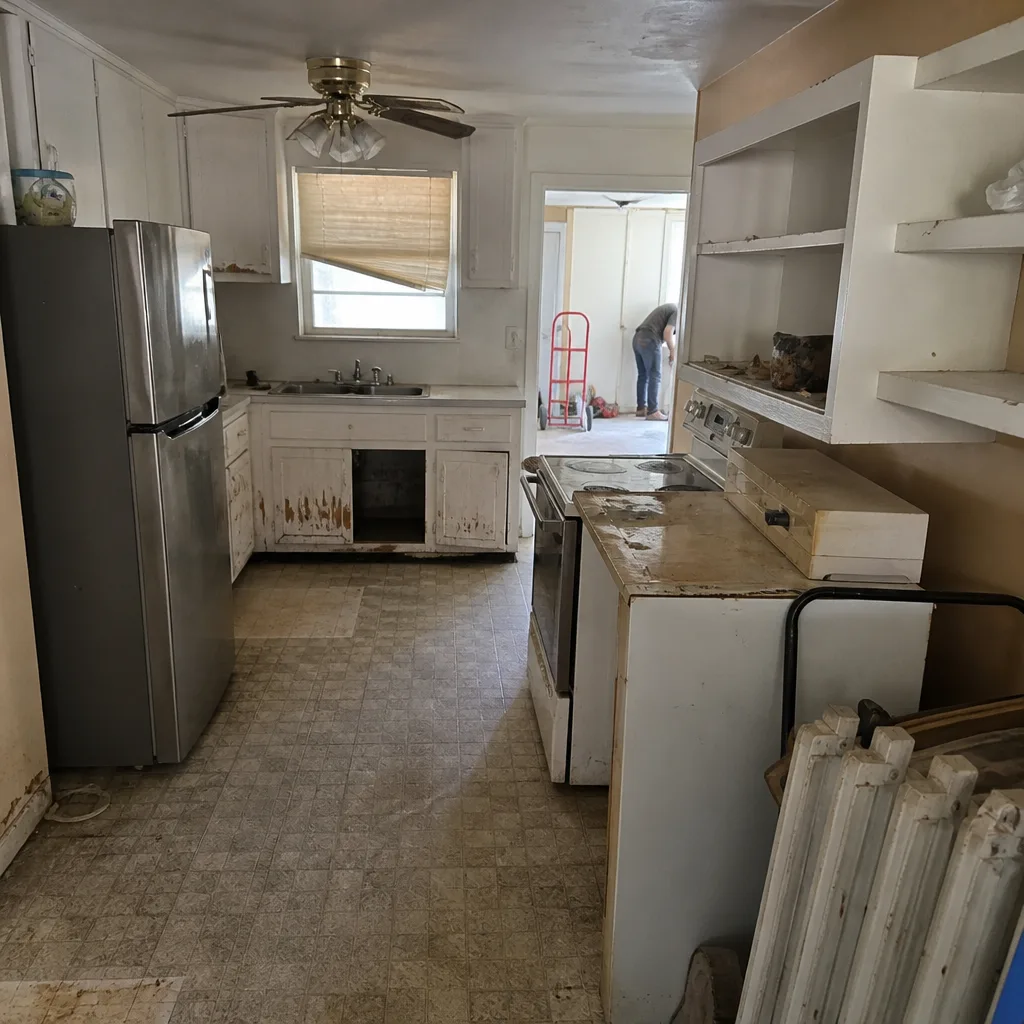 Before
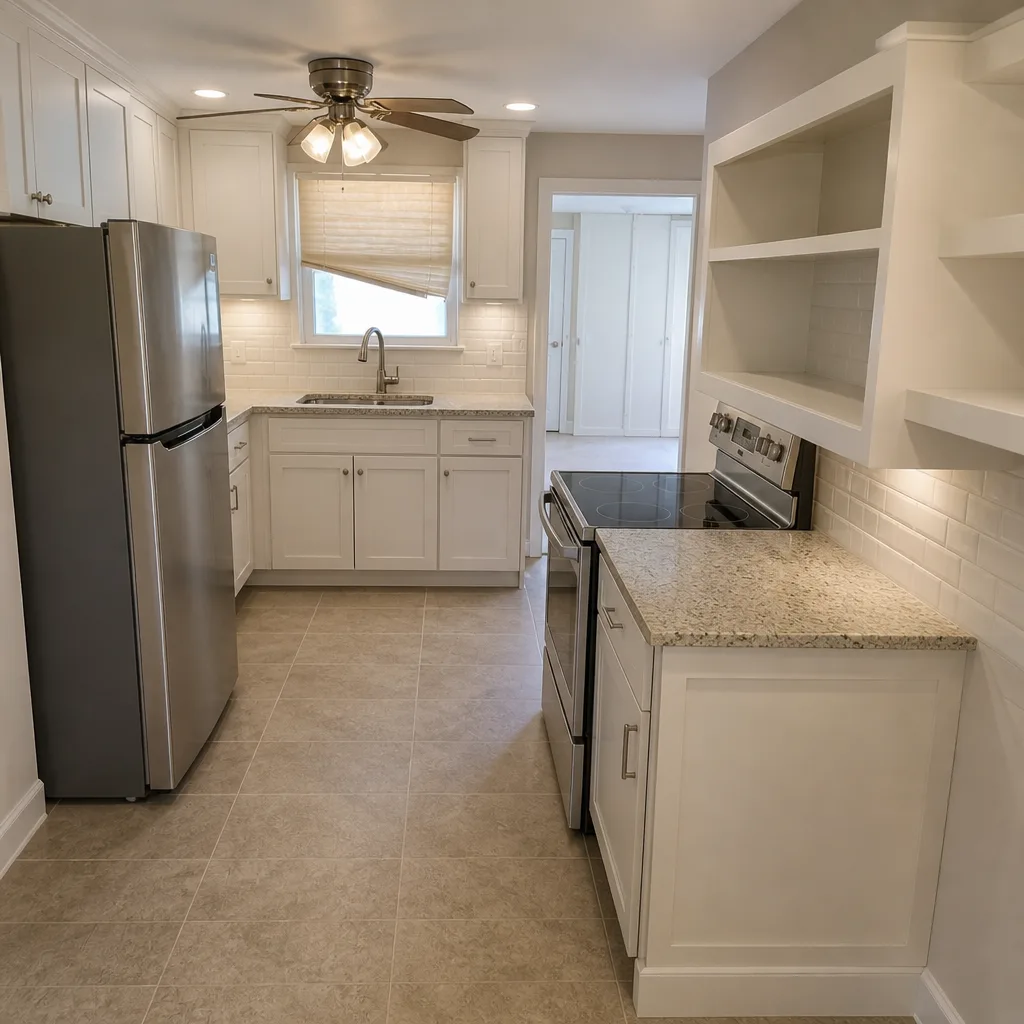 After
When to Call a Professional
Some maintenance is a homeowner job: sweeping, rinsing, adjusting sprinkler heads, and keeping an eye on joint sand. Other situations call for a trained crew. Call a professional if you see widespread rocking across a large area, repeated failures in the same spot after prior repairs, pavers pushing out at the edge restraint, water pooling against the house or garage, or a heave that re-forms season after season. Those are all signs of a base or drainage problem that surface patching won’t fix. Base work involves lifting, re-compacting, and re-bedding pavers correctly, and getting it wrong is how a small problem becomes a full rebuild.
Construction Mesquite offers free estimates in Mesquite. Our technicians have up to 13 years of experience reading what clay soil does to a driveway base, and we give written line-item quotes with the price set per job. Call (844) 761-6059. We answer 24/7. Fast dispatch from 7am to 7pm, Sunday through Friday.
Frequently Asked Questions
Twice a year in Mesquite: once in spring after the freeze season and once in early fall before winter. The UV intensity and surface heat here break down polymeric binders faster than in cooler markets, so a once-every-few-years schedule isn’t enough. If you see shallow joints or water running into the gaps, top up sooner. Call (844) 761-6059 for a free estimate if the joints are consistently washing out in one spot.
Clay heave shows up as a localized lift, often along an edge or joint line, where one section has risen relative to its neighbor. Simple settling shows up as a broad, gentle dip, usually where a vehicle parks or the base was shallow. A paver that rocks underfoot has lost bedding support; a paver that’s firm but high is a heave situation. The fix differs, so the diagnosis matters. Call (844) 761-6059 for an exact quote.
The two-week window after the last hard freeze of the season is the best inspection moment. That’s when base compaction issues surface, because the freeze cycle works on any base that was under-compacted or has lost density. Catching a problem in that window gives you time to fix it before summer heat drives moisture out of the clay. Call (844) 761-6059 to schedule a free estimate.
The best sealer for Mesquite is one explicitly rated for UV exposure and high surface temperatures, applied after the joints are clean and full. Techniseal, Alliance Gator, and SRW are the names that come up most in this market, but the rating matters more than the label. Film-forming products look great when fresh but can scuff under heat; penetrating sealers are lower maintenance and more forgiving. Plan to reseal every three to five years. Call (844) 761-6059 for an exact quote.
No. The written line-item estimate sets the final price, and there are no change orders added mid-job for work that was in scope. If we open up the base and find a bigger problem than the estimate covered, we’ll tell you before any extra work happens. Estimates are free, and the price is per job. Call (844) 761-6059.
Most cities require a permit for a driveway replacement that touches the right-of-way, so check with your city’s building department before scheduling the work. We can help you sort out what’s needed as part of the estimate. Construction Mesquite is licensed and insured, and we give free estimates in Mesquite. Call (844) 761-6059. We answer 24/7. Fast dispatch from 7am to 7pm, Sunday through Friday.
The Bottom Line
Paver maintenance in Mesquite comes down to respecting what the clay soil and the heat are doing to your driveway. Follow a six-touchpoint calendar built around the post-freeze window and the summer peak. Top up joint sand twice a year, not once every few years. Learn to read clay heave versus settling, because they need different fixes. Choose a sealer rated for Texas UV, and keep oil, fertilizer, and irrigation overspray off the joints with a quarterly habit. When the base is the problem, call a pro rather than patching the surface. Construction Mesquite is a full-scope contractor handling Construction Mesquite services from the driveway to the roofline, with one contract and one warranty relationship. Call (844) 761-6059 for a free estimate. Estimates are free, and the written line-item quote sets the final price.
Written by the team at Construction Mesquite.