
Last updated November 17, 2026
 Driveway & pavers
 Kitchen remodeling
 Bathroom remodeling
 Home additions & ADU
 Roofing
 Windows & doors
 Fence
Free written scope consultation - allowances, timeline, and change-order rules on paper before a single trade is scheduled
Driveway & Pavers Troubleshooting in Mesquite: Common Problems and How to Fix Them
A sunken paver and a rocking paver look similar from the sidewalk, but they almost never share a cause. One usually means the base under the driveway has settled. The other usually means water is getting where it shouldn’t and lifting the surface. Fix the wrong one and you’ll be back to square one before the next dry summer in Mesquite. This guide gives you a diagnostic framework, not a symptom list. You’ll learn the three root causes behind nearly every paver failure, how to run a three-question field check on your own driveway, and how to tell a repair that lasts from a band-aid you’ll pay for twice.
Quick Answer
Most driveway and paver problems in Mesquite come down to one of three root causes: a base that was dug too shallow, edge restraint that has failed or was never installed correctly, or drainage that sends water under the pavers instead of away from them. A single loose paver is usually a small, targeted repair. Widespread movement, cross-course rocking, or soil pumping between pavers signals a base problem that will not respond to patchwork. Diagnosing which cause you have – before calling anyone – tells you whether you’re looking at a reasonable repair or a full rebuild.
Styles & brands we work with
- Kitchen remodeling
- Bathroom remodeling
- Home additions & ADU
- Roofing
- Windows & doors
- Driveway & pavers
- Fence
Table of Contents
- The Three Root Causes Behind Nearly Every Paver Failure
- The Three-Question Field Diagnostic: Run This Before You Call Anyone
- Why Mesquite Clay Shrink-Swell Hits Pavers Hardest in Dry Summers
- Edge Restraint Failure vs. Base Failure: How to Tell Them Apart
- Polymeric Sand Washout: The Most Underestimated Maintenance Failure
- Drainage Problems That Destroy Driveways Quietly
- Repair or Rebuild? The Honest Indicators
- How a Correct Paver Installation Prevents All of This
The Three Root Causes Behind Nearly Every Paver Failure
Walk down any residential block in Mesquite and you can usually spot the driveways with issues within a few seconds of looking. What you’re seeing, though, is the symptom. The cause is almost always one of three things, and knowing which one keeps you from paying for the wrong fix.
1. Base depth was wrong from the start
A paver driveway is only as good as the compacted aggregate under it. In our area, most residential driveways need a substantial compacted base layer installed in lifts, each compacted before the next one goes down. When a crew digs shallow to save time, the pavers still look perfect on day one. The failure shows up over the first two or three oil changes, as the aggregate settles under the load.
2. Edge restraint failed or was never adequate
Pavers lock together as a system. The edge holds the whole field tight. Once the restraint loosens, the field spreads, joints widen, and sand finds a way out. This one shows up first along the driveway’s outer perimeter.
3. Water runs under the pavers instead of off them
Pavers are permeable in the sense that water can pass between them if the joints open. A driveway that slopes toward the garage or holds a puddle after every rain event is driving water into the base. That base softens, and pavers start to rock. Drainage is the failure mode most homeowners miss, because the paver surface itself still looks fine.
Those three are the whole game. Running the diagnostic in the next section will point you toward the right one.
The Three-Question Field Diagnostic: Run This Before You Call Anyone
You don’t need tools to identify the likely cause of your paver problem. You need to answer three questions carefully. Walk your driveway on a dry day and work through each one.
- Is the problem isolated or is it spreading? A single sunken paver, or a small cluster of two or three, usually traces to a localized base issue or a piece of failed joint sand. A field of pavers moving together, or a pattern of rocking that isn’t root-cause-of-a-single-stone, points to base or edge problems. If you can find the far end of the problem within a few feet, you’re likely looking at a small repair.
- Is the surface heaving up or sinking down? Heaving means one edge of a paver has pushed up above its neighbors, often because a root, expansion pressure, or frozen moisture (rare here) has lifted it. Sinking means a paver has dropped below the surrounding field. Sinking is base settlement. Heaving is pressure from below or a lifted edge restraint.
- Did it start after a rain, or during a dry stretch? If pavers rock after heavy rain and settle in dry weather, water is getting into the base and causing displacement. If pavers lift or open at the joints during a dry spell, the soil under the driveway is shrinking and pulling the base with it. Both are common in Mesquite, but they call for different remedies.
Write down your answers. When you bring a professional out for an estimate, this framework lets you have a real conversation about what you’re seeing instead of a vague “the driveway is moving.”
Why Mesquite Clay Shrink-Swell Hits Pavers Hardest in Dry Summers
Most paver troubleshooting advice focuses on wet weather. In our experience, the more challenging cycle for Mesquite pavers is summer. The expansive clay soils under many driveways across the city have a wide shrink-swell range. Wet spring weather makes the clay expand, then a dry June or July shrinks it back, and the compacted base layer above rides that movement like a raft on a slow tide.
What does that actually look like over the course of a summer?
- Joint sand loosens and washes away faster than it would on a more stable soil profile.
- Pavers along the perimeter of the driveway – the ones closest to soil that isn’t covered by the driveway – start to lift or open first.
- A base that was barely adequate when installed becomes visibly inadequate after three or four cycling seasons.
- Small rocking pavers start appearing in the middle of the field, which is the load path taking its toll as the base underneath loses some of its compaction.
Clay soils aren’t a reason not to have a paver driveway – the vast majority of paver installations on clay perform beautifully. But they do raise the bar on base prep and edge restraint. If a crew treats Mesquite clay like a stable sandy soil, the driveway will show it within a few years. That’s why material and technique matter so much on driveway & pavers work in this part of the metroplex.
Edge Restraint Failure vs. Base Failure: How to Tell Them Apart
These two failures look similar in photos, and both cause “moving pavers.” They’re not the same, and a repair approach that works for one will fail on the other. Here’s how to tell which you’re facing.
Edge restraint failure, signs:
- The problem starts at the outer edge of the driveway and works inward.
- You can see a gap between the pavers and the curb, border, or surrounding soil.
- The pavers near the edge can be pushed sideways by hand.
- Joint sand has washed out along the perimeter before spreading further in.
- The border course (if you have one) has separated from the field.
Base failure, signs:
- Rocking or sinking appears in the middle of the driveway, not just along the edges.
- Pavers depress when you walk across them in a specific sustained patch, not just at the border.
- Water pools in the same low spot after every rain.
- The surface has a visible wave or dip when you look along it at eye level.
- The joint sand washes away consistently in the same area.
Edge restraint repairs are comparatively modest: reset the restraint, re-sand, and re-tamp. Base failures usually mean lifting and rebuilding a section of base – sometimes the whole driveway. Recognizing which one is present keeps you from paying for edge work that won’t hold if the real issue is base depth, or for a base rebuild when the edge is the only thing that’s actually moved.
Polymeric Sand Washout: The Most Underestimated Maintenance Failure
Polymeric sand is the material that fills the joints between pavers and locks the surface together. It’s a fantastic product – it holds up to weather, resists weeds, and stops rain from channeling between pavers. What it isn’t is permanent. Over multiple years, especially after hard Texas rain events, the joint sand erodes, lifts, or washes out in the low spots. Once it’s gone, the paver surface loses its stabilization, which is when most of the problems in this guide start to appear.
Signs your polymeric sand is failing:
- Visible gaps or open joints between pavers.
- Weeds growing up through joints that were previously sealed.
- Sand tracking into the garage or being tracked into the house.
- Water pooling in specific joints after rain rather than draining off.
- The driveway surface feels looser or slightly “softer” underfoot in places.
Products that hold up in our climate
Not all polymeric sands are equal. In Mesquite, where late-afternoon summer storms can dump a lot of water fast, the joint sand needs to cure hard and stay flexible. We spec the reapplication to premium lines like Techniseal and Alliance Gator because they consistently hold up better than budget-grade products in this climate. Getting the reapplication right matters just as much as the product. Sand has to be swept into dry joints on a dry surface, misted to activate, and left alone to cure – it can’t just be dumped and swept once.
If your polymeric sand hasn’t been refreshed in several seasons, budget for a reapplication before other problems pile up. It’s the cheapest maintenance item on a paver driveway, and it prevents the expensive ones. This is the kind of upkeep we plan for on every hardscape project we spec, including outdoor living surfaces built with brands like Belgard, Unilock, Tremron, Techo-Bloc, and Cambridge Pavers.
Drainage Problems That Destroy Driveways Quietly
Water is the slow killer of paver driveways. A driveway that drains correctly can last decades with minimal intervention. One that traps water will fail in a fraction of that time, regardless of how well the pavers were installed.
What to check:
- Standing water after rain. Any puddle that stays for more than a few hours is a drainage problem. Walk your driveway after every significant rain and note where water sits.
- Slope direction. The driveway should slope gently away from the garage, the house, and any adjacent structures. Use a level or have a professional check if you’re unsure.
- Downspout discharge. Roof downspouts that dump water onto the driveway push a lot of volume into the paver joints. Rerouting them away from the surface is often the single most effective drainage fix.
- Adjacent soil grade. Soil on either side of the driveway should not be higher than the paver surface. A raised bed next to the driveway sends rainwater into the joint field instead of away.
- Swale or channel drains. Homes on sloped lots often need a surface drain or channel drain to move water off and away. If yours is clogged or missing, pavers at the low end will be the first to fail.
Drainage corrections are usually modest in cost compared to base repairs, which is why addressing them early pays off. A driveway that’s held a puddle for years almost always has base damage underneath – the two problems compound.
Repair or Rebuild? The Honest Indicators
This is the question homeowners ask most, and it deserves a straight answer. Some paver problems are worth repairing. Others are throwing good money after bad if the base is the underlying issue. Here are the honest indicators we use when we look at a driveway in Mesquite.
A repair usually makes sense when:
- The issue is confined to a small area – typically a handful of pavers or a short border section.
- The edge restraint is the problem, and the base under the field is sound.
- Polymeric sand is failing but the pavers themselves are stable and level.
- Drainage is fixable with a rerouted downspout, a small grade adjustment, or a channel drain.
- The pavers are level under a straightedge laid across the intact portions.
A base rebuild is likely the only durable fix when:
- Rocking or sinking appears across the same load path repeatedly, even after previous repairs.
- Multiple courses are moving together rather than just an isolated pocket.
- Water has been sitting in the same low spot for years and the base under it feels soft or spongy underfoot.
- The paver surface has visible waves or dips when checked at eye level.
- Previous band-aid repairs (resetting pavers without addressing base) have failed within a season or two.
The uncomfortable truth: a properly installed base rebuild is more expensive than a repair but cheaper than repairing the same driveway three times. When a paver surface has been re-set over a bad base more than once, the honest recommendation is usually to rebuild and be done. That’s the approach we take on every driveway project, and it’s why we only spec installations built to stay.
How a Correct Paver Installation Prevents All of This
The best troubleshooting guide is one you never need. If you’re planning a new driveway or considering a full rebuild, understanding what a correct installation looks like lets you protect your investment from the start.
- Excavation to the right depth. The base needs to be deep enough to account for your soil profile. In Mesquite, clay soil drives that spec – a crew that treats every job the same misses it.
- Geotextile separation fabric. A woven fabric between the native soil and the aggregate base stops fine clay particles from pumping up into the base. On expansive clay, this layer matters.
- Compacted base in lifts. Aggregate goes down in layers, each compacted before the next. Roller compaction in one thick pass does not achieve the same density.
- Edge restraint properly set and spiked. Aluminum or steel edge restraint, anchored with spikes at the right depth and spacing, holds the field tight. Plastic edge on its own is a common shortcut that doesn’t hold up.
- Bedding layer and screed. A thin, consistent bedding layer under the pavers keeps them level and even.
- Polymeric sand installed to the manufacturer’s spec. Dry joints, correct activation, proper curing. This is where shortcuts fail.
Every one of these steps is straightforward when a crew plans for it. Every one is capable of being skipped when a crew doesn’t. If you’re having a paver driveway installed in Mesquite, ask about base depth, edge restraint material, and whether separation fabric is included. A professional will answer those questions without hesitation. If a bid seems unusually cheap, the base depth is almost always the first thing that got cut.
Material sourcing matters too. We work with premium paver brands – Belgard, Unilock, Tremron, Techo-Bloc, and Cambridge Pavers – because consistent manufacturing tolerances make the installation itself better. Pavers with sloppy edges force a crew to fight the material, which adds time and opens more room for error.
Common Mistakes to Avoid
- Re-sanding without addressing the cause. If pavers are moving because the base is settling, adding fresh polymeric sand just puts a bandage on a growing problem. Diagnose the reason first.
- Assuming any paver that shifts is a “settling” issue. In Mesquite clay, some movement is shrinkage in dry weather, and some is base failure. The fix is completely different.
- Ignoring small joint gaps. A single open joint lets water through the surface every time it rains, which softens the base under it. Small gaps get expensive fast.
- Skipping separation fabric on a rebuild. On clay soil, skipping the geotextile is a shortcut that will cost you within a few years.
- Using plastic edge restraint on a driveway. Plastic is fine for some garden applications; on a driveway in Texas heat, aluminum or steel edge holds up far better.
- Watering the driveway heavily during dry spells. Some homeowners try to “keep the clay from shrinking” by soaking the driveway. This often creates new problems by driving more moisture into the base than the soil profile can handle.
- Letting a puddle sit for years. A pool of standing water after every rain event is the most reliable predictor of a future base failure. Address drainage before lifting pavers.
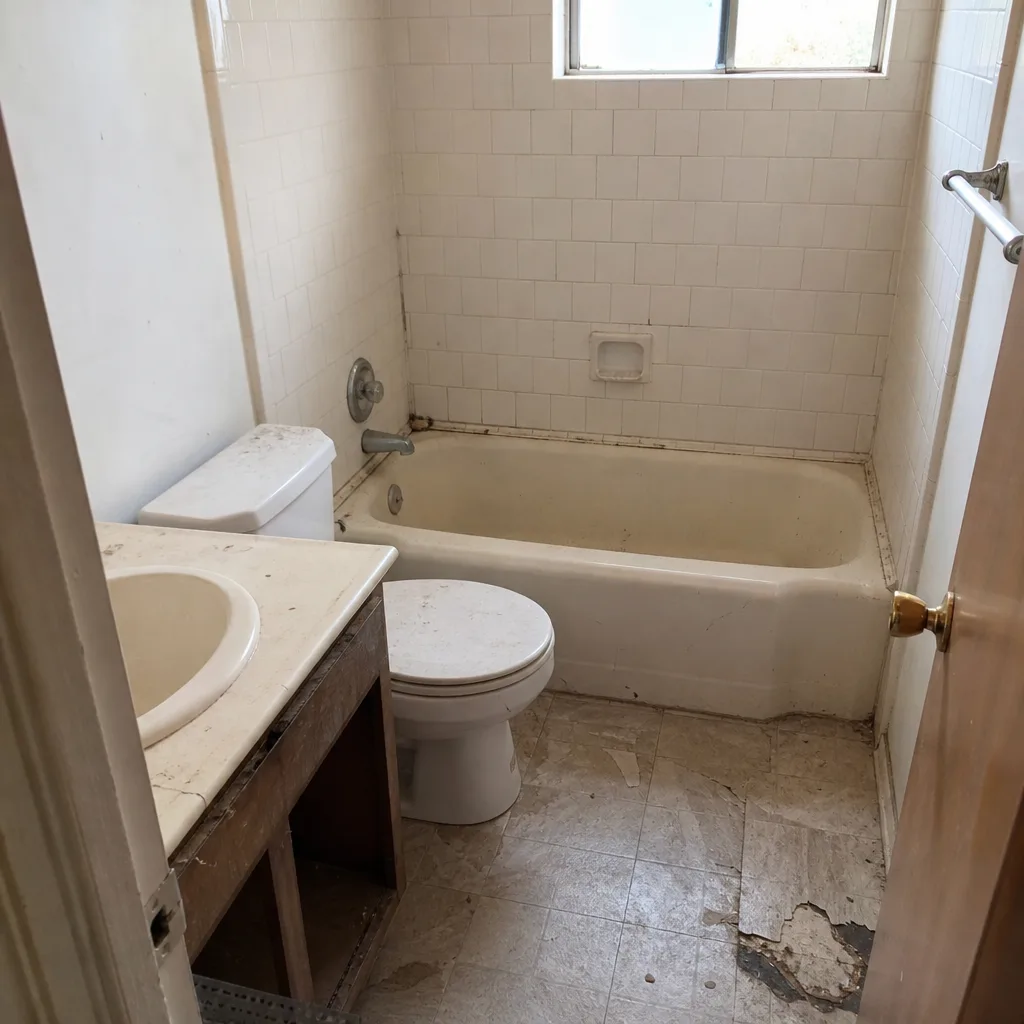
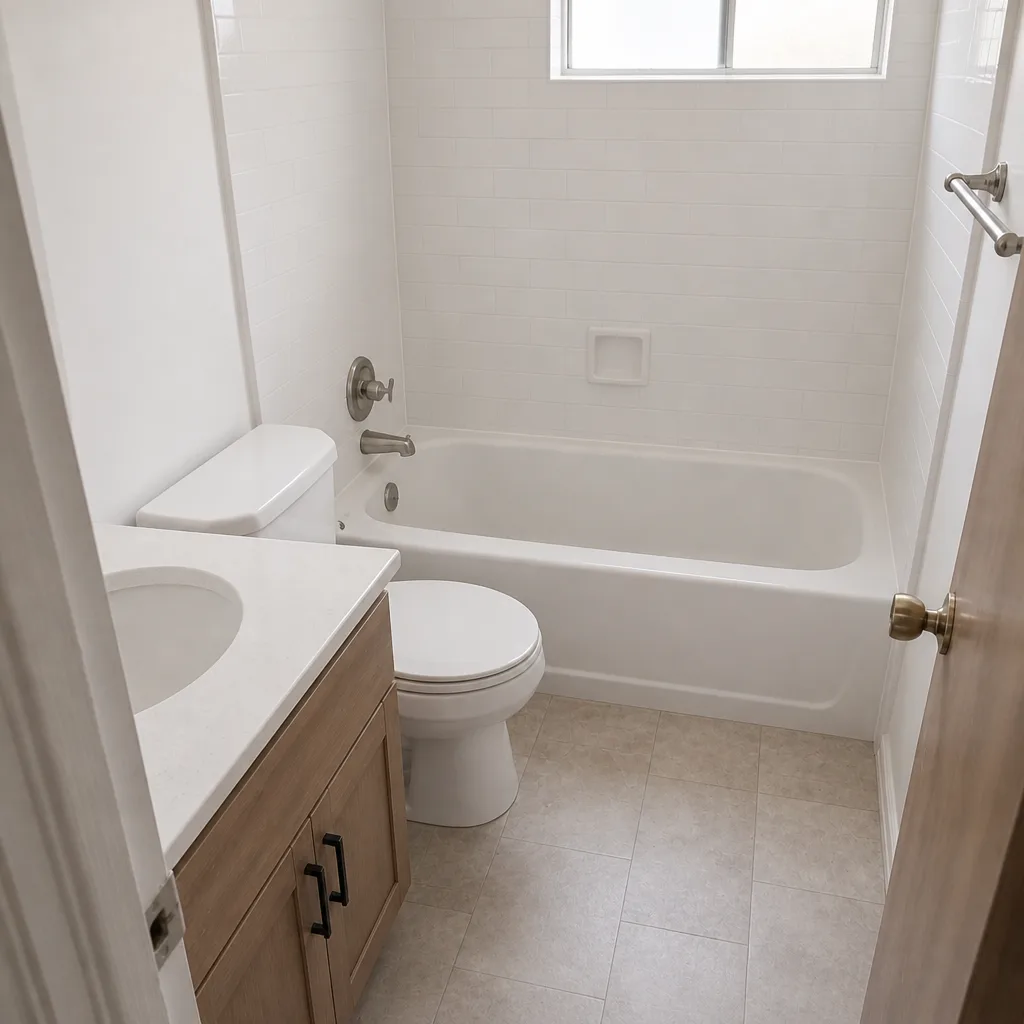
See the difference
 Before
 After
 Before
 After
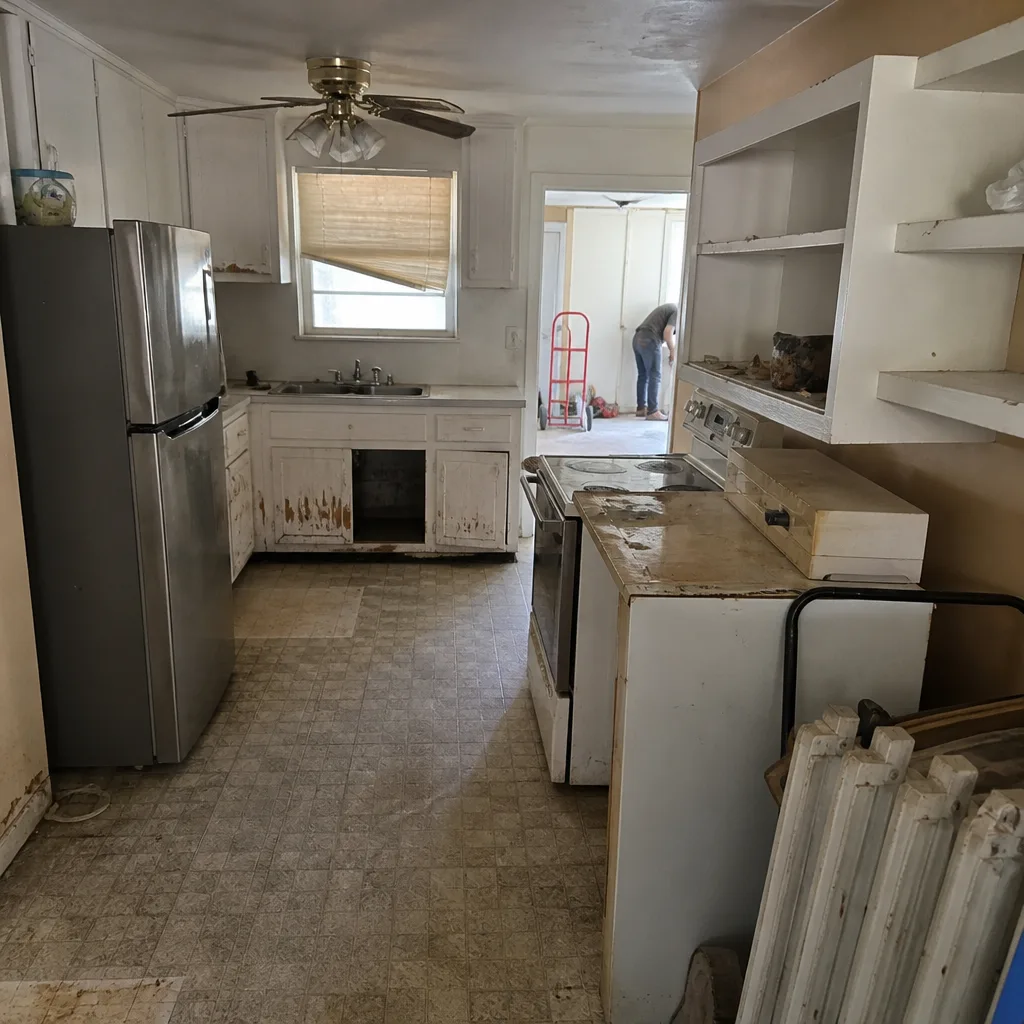 Before
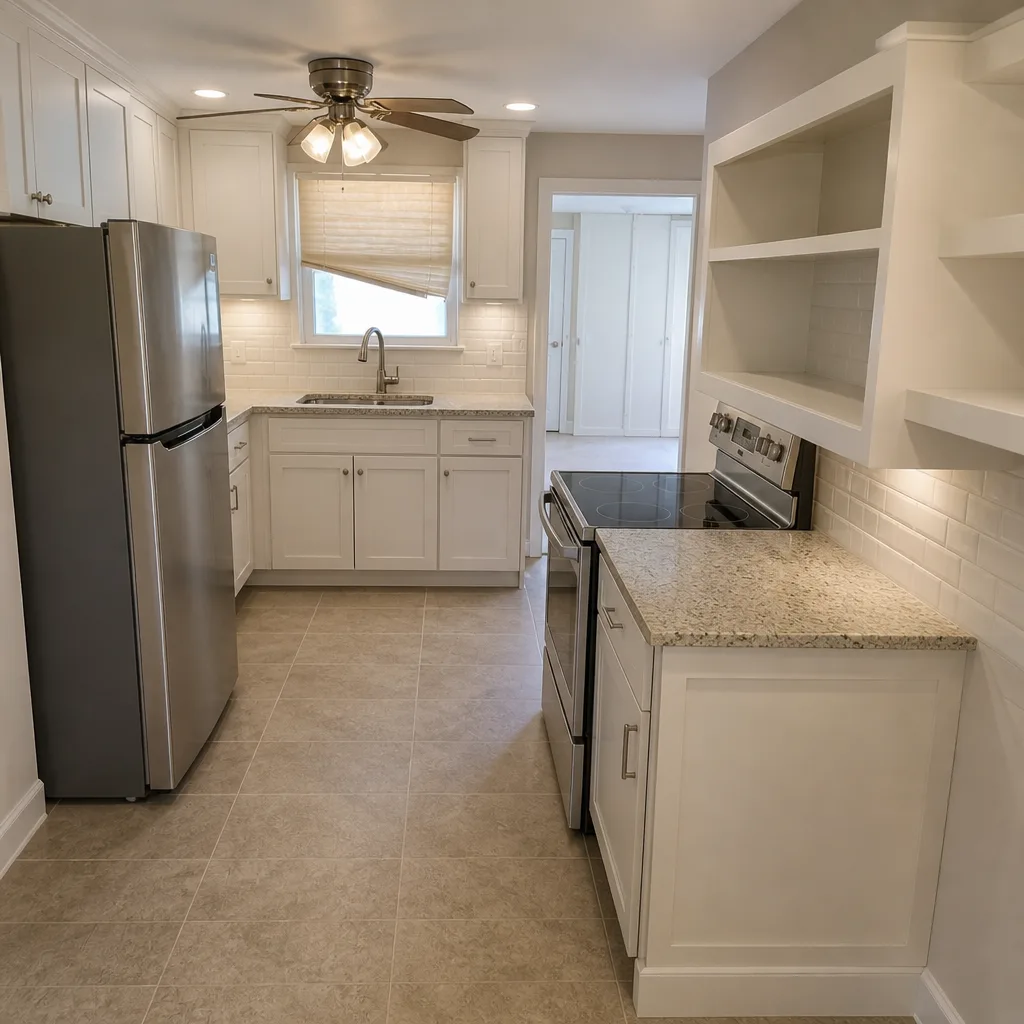 After
When to Call a Professional
Some paver repairs are genuinely minor and can be handled with a small bag of polymeric sand and half an hour of time. Others need professional eyes. Call us when the issue is spreading across multiple courses, when the same paver has been reset twice and moved again, when water pools in one low spot after every rain, or when you can visibly see a wave in the surface from eye level. Those are signs the base is involved, and getting it diagnosed correctly saves you from a cycle of band-aid repairs. For driveways that have failed structurally, a proper rebuild under one written estimate is almost always the right call.
Construction Mesquite offers free estimates in Mesquite – call (844) 761-6059. Our technicians have up to 13 years of experience diagnosing pavers across this climate, and we’ll tell you honestly whether you need a repair or whether the base has to come up. We answer 24/7. Fast dispatch from 7am to 7pm, Sunday through Friday.
Frequently Asked Questions
Local repair work typically falls into a range based on scope: a small isolated reset or a joint-sand reapplication is on the lower end, while edge restraint repair and targeted base correction in a section of the driveway run higher. Full base rebuilds are a larger project with a corresponding range. The written estimate sets the final price, and we give line-item quotes so you can see exactly what’s being done. Call (844) 761-6059 for an exact quote – estimates are free.
Yes, in most cases. If the pavers themselves are stable and level and only the joint sand has washed out, a reapplication is straightforward: joints cleared, sand swept in, misted, and left to cure. If the pavers are rocking or the surface is wavy, reapplication alone won’t solve it, and the base should be looked at first. Call (844) 761-6059 to get a professional opinion on which situation you’re in.
Clay shrink-swell. In Mesquite, the expansive clay soils under many driveways contract during dry summer stretches, which can pull base material down and open joints. Spring rains expand the clay and can drive base settlement in wet areas. Both cycles stress the same driveway, so the important thing is how well the base is compacted and how stable the edge restraint is.
No. A properly installed paver driveway should shed water, even after a hard rain. Any puddle that stays for hours after rain is a drainage issue that will eventually damage the base. The fix is usually modest – rerouting a downspout, adjusting grade, or adding a channel drain – and the earlier you address it, the less base damage you’re paying to correct.
Whether a permit is required depends on the scope of the project and the current requirements from the city of Mesquite’s building department. Full replacements, structural changes, or work that affects drainage or lot grading often trigger a permit review. We pull permits when required and handle the inspection, so you’re not navigating that process. Ask on your estimate call and we’ll confirm what applies to your project. Call (844) 761-6059.
A paver driveway installed with the right base depth, edge restraint, separation fabric, and polymeric sand holds up well for a long time in this climate – decades, not seasons. The key variables are base compaction, drainage, and joint sand maintenance. If your driveway is failing early, one of those elements was likely compromised during installation or has been allowed to fail afterward.
The Bottom Line
Most driveway paver problems come down to base depth, edge restraint, or drainage – not the pavers themselves. Running the three-question field diagnostic tells you which one you’re dealing with, and that distinction keeps you from paying for repairs that won’t hold or rebuilds you didn’t actually need. Mesquite’s clay shrink-swell cycle raises the stakes on all three, so a driveway that was installed without proper attention to base, edge, or water movement will show its flaws within a few seasons. When in doubt, get a professional diagnosis before a band-aid repair turns into a repeat cost. The written estimate sets the price, and a good contractor will tell you honestly whether a repair or rebuild is the right call.
If your driveway issues are part of a wider home improvement plan, our team handles Construction Mesquite projects across seven service lines under one contract, including work with fence installation and home additions & ADU builds. One contractor from the driveway to the roofline means no juggling schedules or chasing separate crews for each phase.
Call (844) 761-6059 for a free estimate. We answer 24/7. Fast dispatch from 7am to 7pm, Sunday through Friday.
Written by the team at Construction Mesquite.